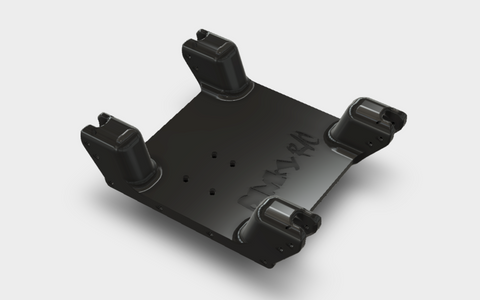
We're making you look good, and simplifying the installation of an Axial EXO Radiator and Rear Light-bar!
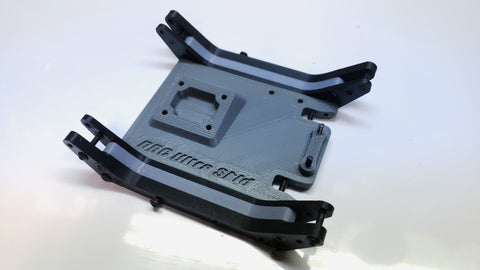
Using the Bomber Rad-Light Bracket makes it quick and easy to secure your newest scale upgrade!
This bracket is normally included in our complete "Bomber Box" kit.
But the Rad-Light bracket was also designed to work independently of the kit.
So we've made it available to those that just need the bracket!
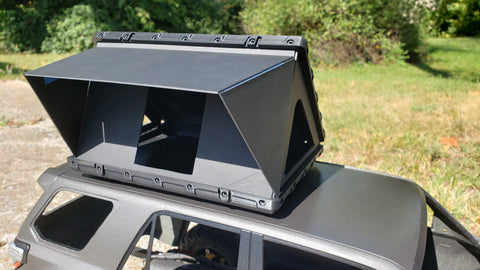
It gives you a place to mount your Axial EXO Radiator Kit that everyone enjoys adding to their Axial Bomber builds.
And literally on top of that, your able to securely mount your Axial EVO Rear Light-bar, safe and secure, in the proper location!
(Axial Parts sold separately, and are NOT included)
6pcs hardware included
***Basic instructions***
-Axial EXO Rear Light Bar will require trimming along straight line "crease",
as located on the top of the part. Lining up with the back edge of the vehicles roof, once installed.
-Dry fit all parts, in order to locate the correct alignment of the radiator & light-bar, and orientation of the bracket.
-It's advised to only use a small drop of "super glue" to adhere the Radiators top two posts, into the bottom of the bracket.
Top surface is smooth, bottom surface looks like most 3d printed type surfaces.
